How Are Plastic Bags Manufactured?
By Hope Chan. Last updated: June 13, 2022
Here’s a bird’s eye view of the steps in this post:
- Cylinder: From Plastic Pellets to Plastic Films
- Printing
- Lamination
- Drying
- Slitting
- Bag Making
Let’s go through them in detail…
Table of Contents
Before Production
Plastic Bags
We have practically surrounded ourselves with plastic products these days, especially plastic bags. From everyday garbage bags to custom bags printed with logos so as to advertise one’s brand, plastic bags surely have become an important part of our life. So how are these plastic bags made? In this post we will learn more about the manufacturing process of plastic bags.
Raw Material
The most commonly used plastic bags we see on the market are made from polyethylene (PE) and some have other types of materials (PA, PET, Aluminum, etc.) involved, depending on what the plastic bags are used for. Consult with your supplier or manufacturer if you are not sure about this.
Production Process
Plastic Bags
Step 1. Cylinder
The Clylinder Process will walk you through how we make plastic films from small plastic pellets.
>> Liquefying
QLP-Hopper
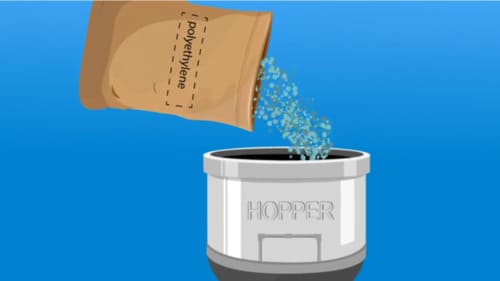
Evenly mix the plastic pellets and some plastic additives in a giant hopper where they undergo heat (up to 180 degrees centigrade) and pressure and are melted into a soft molten state that can be easily manipulated.
>> Blown Film Extrusion

QLP-Blown Film Extrusion
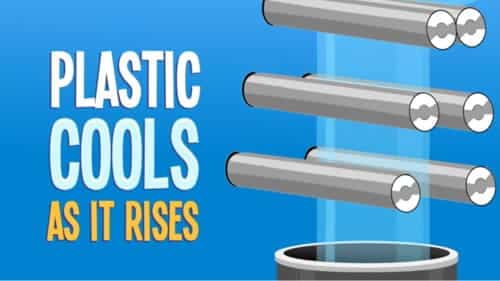
Extrude the heated molten plastic through the extruder, where the liquefied plastic will be blown upward into a long tube-shaped plastic, inflated with air.
>> Flattening
QLP-Flatten Cooled Plastic
The blown tube-shaped plastic will be exposed to a blast of cooling air which solidifies it. Then giant rollers will compress it into one large flatten sheet of plastic film.
>> Cutting & Rolling

QLP-Cutting
QLP-Rolling
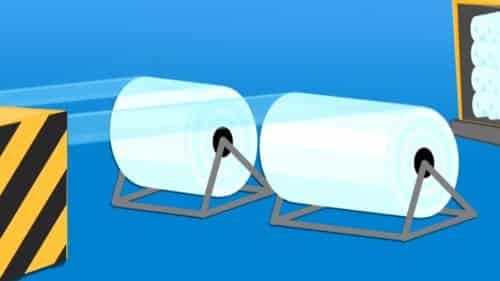
The plastic will be cut into its desired width by razors. As for the excess part, it will be used for smaller packaging needs or recycled. We now have cut plastic tubes that are wound into rolls ready for further processing.
Step 2. Printing

QLP-Printing
At this stage the plastic films can be printed on with an alcohol-based ink using either Gravure Printing technique or CMYK Printing technique.
Our printers can print to design up to 9 colors at high speed that makes GoalPackaging very competitive on price without jeopardizing our excellent print quality.
After printing, the plastic is rewound and then taken to the next process where it’s manufactured to the final specifications required.
Note: If your product does not require printing, skip this step.
Step 3. Lamination
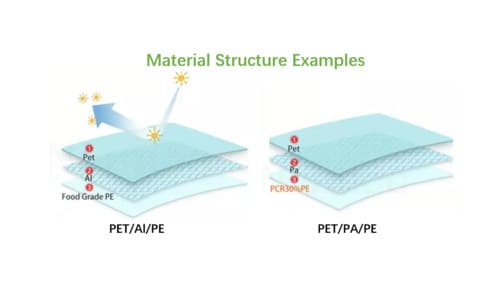
Material Structures
Lamination is the technique or process of manufacturing a continuous composite material sheet with multiple layers of plastic sheets. Plastic bags that are made from laminated materials can achieve greater strength, stability, sand some other properties.
Note: If what you require for your plastic bags consists of only one layer of plastic, then skip Step 3 & 4 and go straight to Step 5.
Step 4. Drying
The printed laminated plastic will now be put in the drying room and wait for the adhesives to dry.
Step 5. Slitting
Slice the large plastic rolls into narrower strips, usually 3 or 4 strips, depending on the required width.
Step 6. Bag Making
>> Shaping
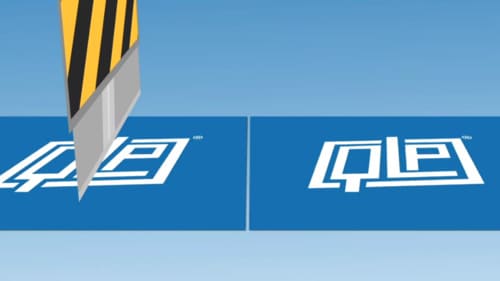
QLP-Custom Shaped
The plastic sheets will now be put into a mechanical roller that shapes the bottom and sides of the bags with a spinning disc, so that these bags can be formed into their desired shape.
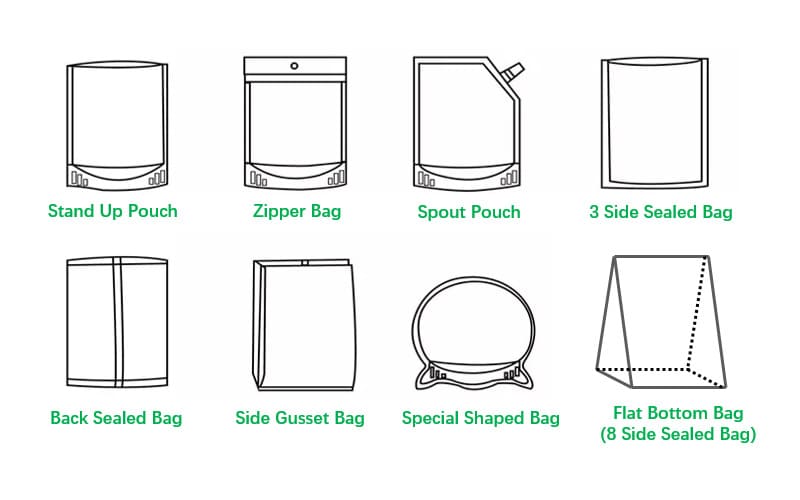
Bag Styles & Shapes
Following are some of the most common bag types: Stand Up Pouch, Zipper Bags, Spout Pouches, 3 Side Sealed Bags, Back Side Sealed Bags, Side Gusset Bags/Pouches, Special Shaped Bags and Flat Bottom Bags (a.k.a. 8 Side Sealed Bags).
>> Hole Cutting
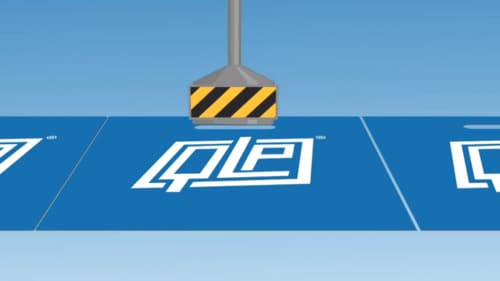
QLP-Hole Cutting
Hang holes & handlers are optional features on plastic bags. If you want them on your bags, then at this stage a large punch device will puncture each bag at the position you request.
>> Sealing

QLP-Pressing
QLP-Sealing
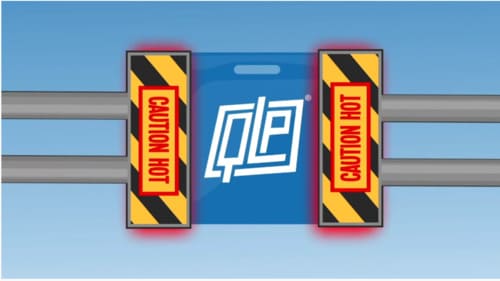
This is the final step of bag making. 2 identical shaped plastic pieces will be pressed together by having their edges heat-sealed.
Conclusion
So through the above 6 steps, a custom plastic bag is now created and can be put to use.
Most of the steps also apply to the making of Kraft paper bags. Different materials, similar drills.
Hope you find this post helpful and are willing to share it with your friends.
Peace out~
Reference
1) Photos labeled with QLP are sourced from screen shot off a video made by Quality Logo Products, Inc.
2) Check out the video if interested. https://www.youtube.com/watch?v=24wb7Kz4j2Y